
Classic apple pie is the dessert that makes a kitchen smell like fall, a flaky, buttery crust wrapped around cinnamon-spiced apples that turn soft and jammy in the oven. There is nothing complicated here, just good technique and a little patience while it bakes.
This version keeps things fully halal, the crust is made with butter instead of lard, and there is no wine, brandy, or alcohol of any kind in the filling, just apples, sugar, and warm spices. It takes a bit of time between chilling the dough and baking, but almost all of it is hands-off.
Key Takeaways
– Chilling the dough for at least an hour is what keeps the crust flaky instead of tough.
– A mix of tart and sweet apples, like Granny Smith and Honeycrisp, gives the best flavor and texture.
– Letting the pie cool for at least 2 hours before slicing keeps the filling from running.
– This crust uses butter, not lard, and the whole recipe is alcohol-free from start to finish.
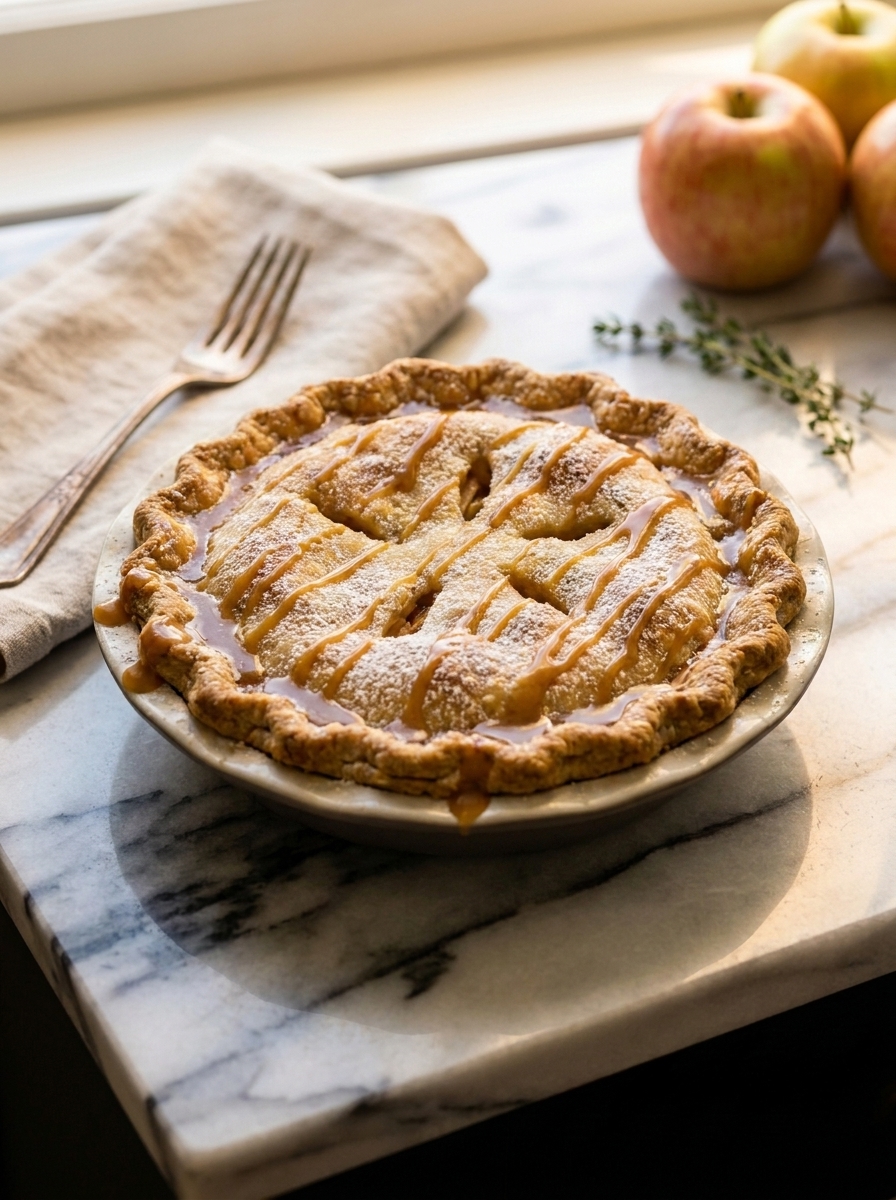
Classic Apple Pie
Ingredients
Method
- Whisk together the flour, salt, and sugar for the crust. Cut in the cold cubed butter with a pastry cutter or your fingers until the mixture resembles coarse, pea-sized crumbs.
- Add the ice water 1 tablespoon at a time, mixing gently, until the dough just comes together. Divide in half, flatten into two discs, wrap, and chill for at least 1 hour.
- Preheat the oven to 425F. In a large bowl, toss the sliced apples with sugar, flour, cinnamon, nutmeg, salt, and lemon juice.
- Roll out one dough disc on a floured surface and fit it into a 9-inch pie pan, letting the excess hang over the edge.
- Pour in the apple filling and dot the top with the cubed butter.
- Roll out the second dough disc and place it over the filling, or cut into strips for a lattice top. Trim and crimp the edges to seal.
- Brush the top crust with the beaten egg and sprinkle with coarse sugar. Cut a few vents in the top if using a full crust.
- Bake for 20 minutes at 425F, then reduce the oven temperature to 375F and bake for another 35-40 minutes, until the crust is deep golden and the filling is bubbling.
- Cool on a wire rack for at least 2 hours before slicing, so the filling has time to set.
Notes
Why This Classic Apple Pie Recipe Works
Cold butter is the real secret to a flaky crust. As the pie bakes, those small chunks of cold butter melt and release steam, which pushes the layers of dough apart and creates the flaky texture everyone wants from a good apple pie. Overworking the dough or using warm butter flattens that effect, which is why chilling the dough matters so much.
Mixing apple varieties makes just as much of a difference. According to the Washington Apple Commission, blending a tart, firm apple like Granny Smith with a sweeter variety like Honeycrisp gives the filling a rounder flavor and a texture that holds its shape without turning to mush.
Ingredients You Need for Classic Apple Pie
This recipe uses two simple components, a buttery double crust and a spiced apple filling. Full measurements are in the recipe card below.
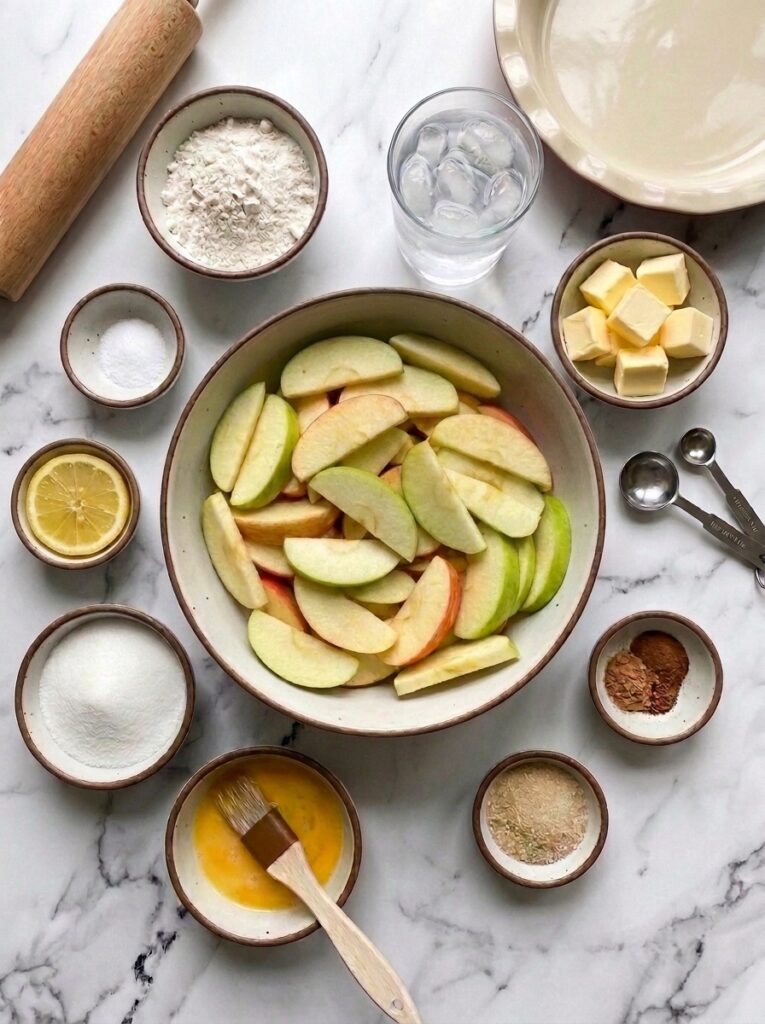
- Crust – flour, salt, sugar, cold unsalted butter, and ice water, this makes enough for a full double crust
- Apples – a mix of Granny Smith and Honeycrisp, peeled, cored, and thinly sliced
- Filling spices – sugar, flour, cinnamon, nutmeg, salt, and a splash of lemon juice to brighten the flavor
- Finishing touches – a bit of butter dotted over the filling, an egg wash for shine, and coarse sugar for crunch
This crust is made with butter, not lard, and there is no wine or alcohol anywhere in the filling, which makes this a fully halal-friendly version of the classic dessert.
How to Make Classic Apple Pie
The full step-by-step instructions are in the recipe card above, but here is the short version of how this comes together.
Make and Chill the Dough
Cut cold butter into the flour mixture until it looks like coarse crumbs, then add ice water just until the dough holds together. Divide it in two, flatten into discs, and chill for at least an hour, this step is not optional if you want a flaky crust.
Prepare the Filling and Assemble
Toss the sliced apples with sugar, flour, and spices, then fill the bottom crust and dot with butter. Top with the second crust, whether a full sheet with vents or a lattice, and crimp the edges to seal in the juices.
Bake and Cool
Start at a high temperature to set the crust, then lower the heat so the filling cooks through without the edges burning. Let the pie cool completely before slicing so the filling has time to thicken.
Tips for the Best Classic Apple Pie
Keep everything cold. Chill the butter, the water, and even the mixing bowl if your kitchen runs warm, warm dough is much harder to work with and bakes up tougher.
Do not skip the flour in the filling. It thickens the apple juices as they cook, so you get a filling that holds together when sliced instead of one that pools out onto the plate.
If the crust edges start browning too quickly, loosely tent them with foil partway through baking to prevent burning while the center finishes cooking.
Resist the urge to slice the pie warm. According to general food safety guidance from the USDA Food Safety and Inspection Service, baked goods should not sit out for more than 2 hours at room temperature before being covered and refrigerated, so let the pie cool fully, then store it promptly.
What to Serve with Classic Apple Pie
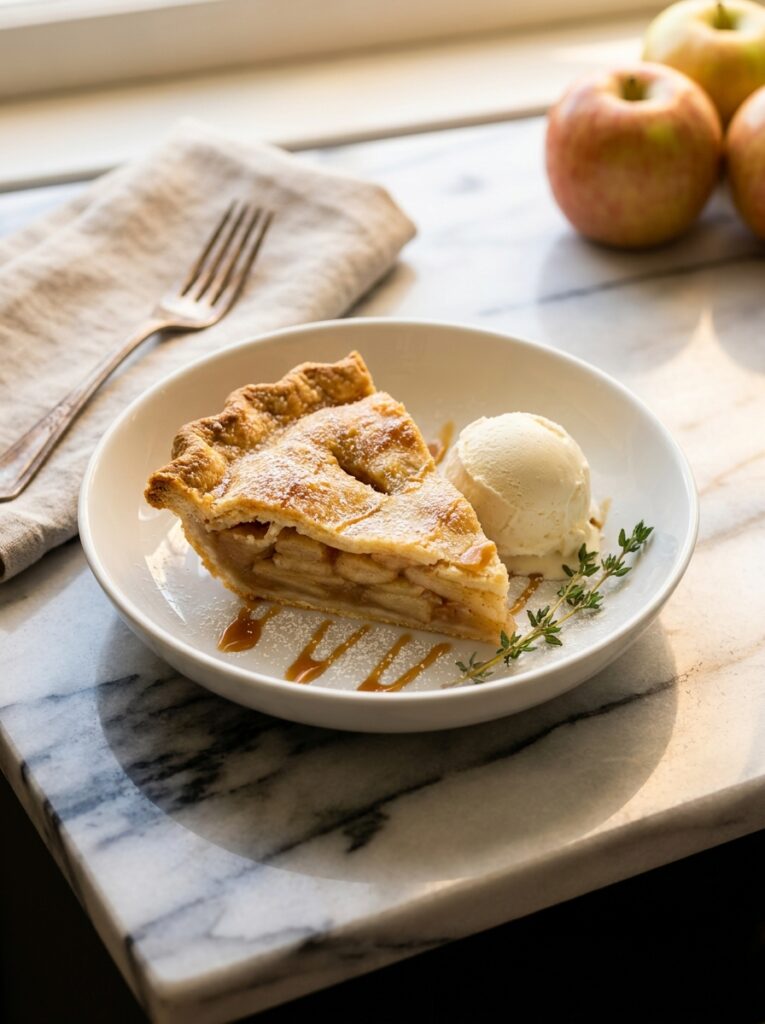
A scoop of vanilla ice cream is the obvious pairing, but a few other desserts round out a fall dessert table nicely. Our No Bake Cheesecake is a great make-ahead option if you want to serve two desserts without turning the oven on twice.
If you are hosting brunch the next day, our Best Blueberry Muffins recipe uses the same pantry staples and comes together just as easily.
Storage and Reheating Instructions
Store the cooled pie loosely covered at room temperature for up to 2 days, or in the fridge for up to 5 days for longer freshness.
Reheat individual slices in a 300F oven for about 10 minutes to re-crisp the crust, or microwave for a softer, quicker warm-up.
Frequently Asked Questions
What are the best apples for apple pie?
A blend of tart and sweet apples works best. Granny Smith brings firmness and tartness, while Honeycrisp or Braeburn add sweetness and juiciness, giving the filling a balanced flavor and a texture that holds its shape.
Why is my apple pie filling runny?
Runny filling usually means the pie was sliced before it fully cooled, or there was not enough flour to thicken the released apple juices. Let the pie rest for at least 2 hours after baking so the filling has time to set.
Can I make the crust ahead of time?
Yes, the dough can be made up to 2 days ahead and kept wrapped in the fridge, or frozen for up to 3 months. Let frozen dough thaw in the fridge overnight before rolling it out.
How do I store apple pie?
Store cooled apple pie loosely covered at room temperature for up to 2 days, or in the refrigerator for up to 5 days. Avoid leaving it out for more than 2 hours before covering and refrigerating.
Final Thoughts on Classic Apple Pie
This classic apple pie recipe is proof that a homemade dessert does not need shortcuts to taste this good. A cold, buttery crust and a well-balanced apple filling are really all it takes, no alcohol, no lard, and no hard-to-find ingredients.
Bake it for a holiday table or just because it is apple season, either way, this one is worth the wait for it to cool.